Creating a Basic widget
Choosing a unique ID
Every shuffleboard2js widget requires a unique ID. Valid IDs can contain lowercase letters, numbers and dashes. Your ID should be related to what your widget does.
Examples of valid IDs: basicwidget, basic-widget2
Examples of invalid IDs: BASICWIDGET, basic-widget?!
Folder structure
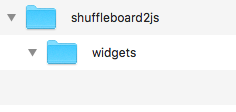
In the folder you ran shuffleboard2js, you should have a folder structure that looks like this:
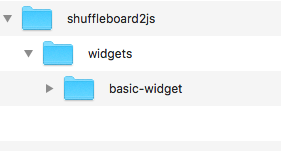
Custom widgets need their own folder inside the shuffleboard2js/widgets folder. Create a folder named after the ID you chose inside the shuffleboard2js/widgets folder. In this example we’ll use basic-widget as the widget ID:
widget.tag
The code for your custom widget goes in a file called widget.tag. This file has a special HTML like syntax which you’ll learn more about in the Widget Anatomy section.
For now create a widget.tag file in the shuffleboard2js/widgets/basic-widget folder and add the following code to it:
<basic-widget>
  <p>This is a basic widget!</p>
  <p>Value: {opts.table}</p>
</basic-widget>
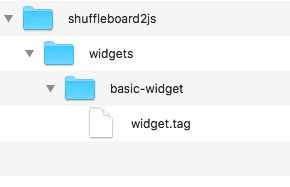
Your folder structure should now look like this:
Registering your widget
Your widget doesn’t show up automatically in the shuffleboard2js interface. To register your widget you need to add an index.html file with the following code:
<!-- This includes widget.tag into this file -->
<script type="riot/tag" src="widget.tag"></script>
<script>
/**
* The first parameter dashboard.registerWidget takes
* is the widget ID. The second parameter is a javascript
* object used to configure the widget.
*/
dashboard.registerWidget('basic-widget', {
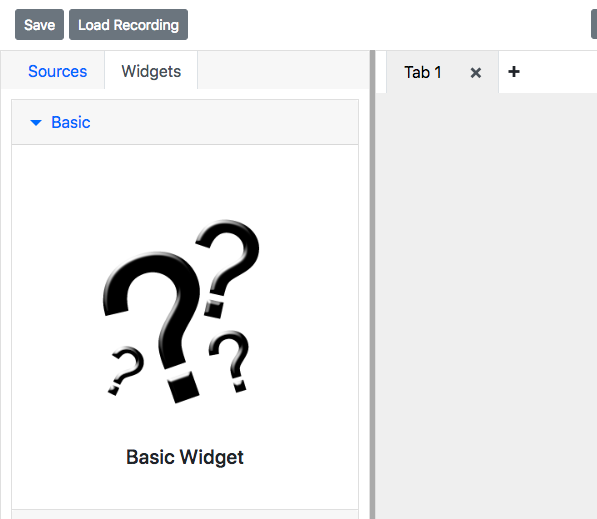
label: 'Basic Widget', // This is the label the widget will take in the widget menu
image: 'widget.png', // This is the image the widget will show in the widget menu
category: 'Basic', // This is the category the widget will placed under in the widget menu
acceptedTypes: ['string'], // These are the types of NetworkTables values you can drag onto the widget
minX: 3, // This is the minimum number of x grid spaces the widget can take up in the interface
minY: 3 // This is the minimum number of y grid spaces the widget can take up in the interface
});
</script>
You can optionally put an image in your widget’s folder named after whatever you passed into the image configuration property passed into the dashboard.registerWidget function.
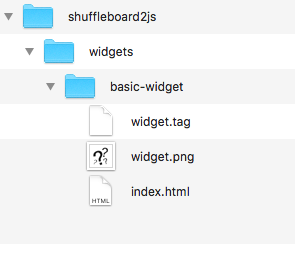
Your folder structure should now look like this:
Refresh the interface and your widget should be there:
Dragging a widget onto the interface should look like this:
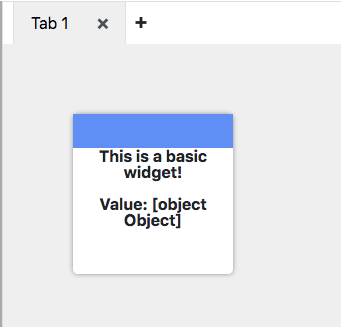
Drag a NetworkTables source onto the widget of type string. The widget should take on the NetworkTable value:
